


Enjoy this circa 1990s training video for CASmate Pro 5. It was recorded on VHS tape in a TV Studio to capture screenshots because that's how it was done back then. You may recognize the instructor. LOL!
Will you be attending the ISA show in Las Vegas NV April 23-25? If so, come see me in Basyside Hall C-F both 2415. Ill also be doing a on hour Advanced Flex Tip and Trick seminar.
Let me show you some things you might not know in the new Flexi Complete and Ill even be doing some things in EnRoute Complete! I'll also be showing off an ALL NEW product that you will certainly want to see! ( It's a secret...don't say anything!)
Come by and say hello! https://signexpo.org/
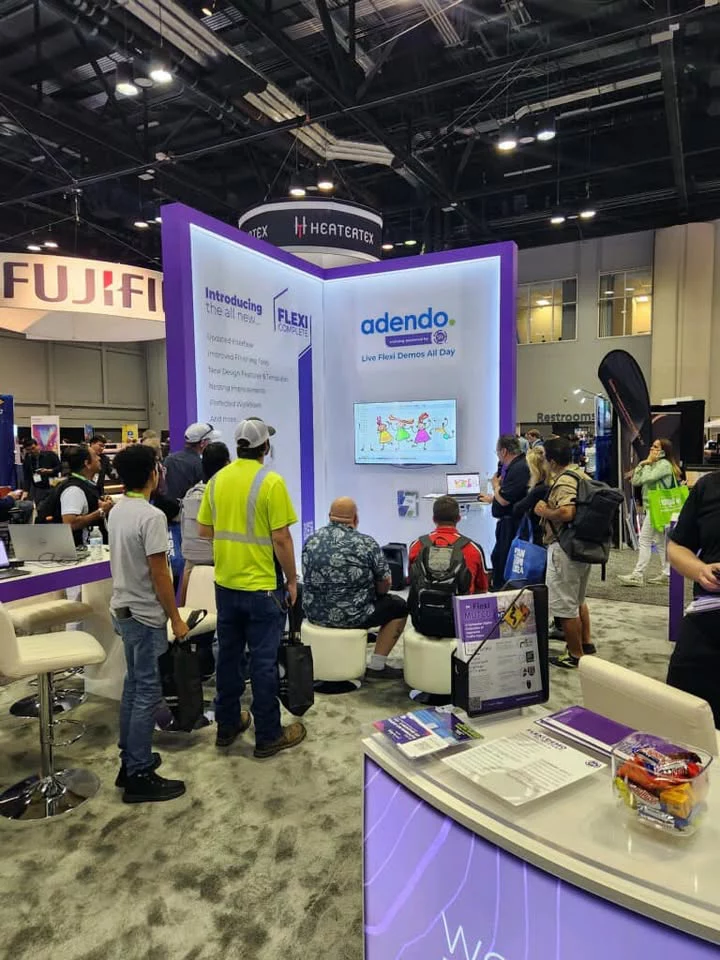
Let's meet at one of my next upcoming tradeshows:
DTF Expo - Phoenix AZ - April 2 or 3 2025 - Booth 99 - www.dtfexpo.com
ISA Expo - Las Vegas, NV - April 22-25 - Booth Bayside Halls C-F — 2415
Original Article here: https://www.hightechgrafix.com/top-10-artwork-tips-for-dtf-transfers
Everyone is talking about direct-to-film (DTF) transfers. This innovative garment decoration method is changing the way people think about heat printing. DTF transfers have many benefits including:
- The ability to print unlimited colors
- No outlines
- Low temp heat application
- Extremely fine detail including floating text
- Lightweight, soft hand after heat printing
- Can be applied in any location on garment
Whether you are printing DTF transfers yourself or using a service to print them for you, there are a few things you need to know, especially when it comes to prepping your artwork. As with any type of garment printing, it starts with the right artwork. Screen printing art guru and DTF art expert Dane Clement lent a hand in preparing this list.
What You Need to Know
Here are the top 10 tips you need to know when preparing art for DTF transfers.
- Design your artwork with “show through.” This means your art should allow the garment color to show through to create an overall softer final print. According to Clement, “DTF already has a softer hand than many other transfer types. However, by incorporating openings throughout a design, there will be less ink and adhesive applied to the garment, giving the design an even lighter feel. When images are large and solid, the garment has a thicker feel.
- Have realistic color reproduction expectations. Colors vary from monitor to monitor, and from printer to printer. Clement suggests you design using RGB settings because it offers a larger color gamut, but keep in mind the DTF printer will use CMYK. A Pantone Bridge book is a great tool to manage expectations, as the book shows you the Pantone color and directly next to it, the color as processed in CMYK. Some DTF service companies offer their own color palette. Think of it as a going to the paint store and choosing colors. This allows you to give the customer a physical sample of colors to pick from and expect the same result when printed.
- Be aware of “soft edges” versus “hard edges.” Clement further reminds us that, “Images with soft edges do not reproduce well because the small dots/ink droplets that create the image are not able to adhere to the shirt.” When there’s not enough surface for adhesive, you lose the edges of the design. This results in a rough, splotchy edge. Images with hard, defined edges do not run into this issue.
- Use patterns, fills, and gradient fades. Your artwork can take full advantage of DTF’s unlimited digital color capabilities. This will also help differentiate your result from what can be achieved with “vinyl” or “spot color plastisol inks.” In addition, you can use photographs and painted, full-color, raster illustrations that use multiple colors when creating art for DTF transfers.
- Say YES to thin lines. DTF transfers allow for the use of small floating type and fine lines in your artwork. Clement explains why this is a game-changer. “Unlike other processes that require a thicker line to hold information, DTF allows much thinner lines. The minimum thickness required for DTF artwork is .018”, which means you can even use small floating type for shirt tags.” Here’s another tip from Clement: “You can check the sizing of your artwork by creating a small circle (.018) in size and move it around your design. Move it over the thinnest parts of the design; if your line is larger than this circle, it’s good to go. If it’s smaller, then make it larger to fit.”
- Vector or Raster? You can use both! According to Clement, “Vector artwork is made up of lines and shapes created by points or nodes, and outlines or paths. This type of artwork can be enlarged infinitely without losing quality. Raster artwork is made up a series of small dots called pixels creating a varying tonal image such as a photo. This type of artwork is limited in how much it can be enlarged, as it will lose quality and could become blurry and/or pixelated.” Since DTF is able to print in full color, with very high resolution, either type will work no matter if the design is one-color or a full-color photo or illustration.
- Use any design software. The more common design software for vector artwork is Adobe Illustrator and CorelDRAW. Adobe Photoshop and Corel PHOTO-PAINT are common raster image editing programs. However, there are many other programs on the market such as Serif Affinity Designer (vector) and Affinity Photo (raster) among others, all of which can be used as long as you have the ability to save the proper file format to send to your printer. Transfer Express’ EasyView Designer is also an excellent alternative to having to purchase your own software.
- Size is not a problem. With DTF transfers you have the freedom to size your art for any type of garment, youth or adult. You don’t have to commit to printing just one size or just one location. Print what you need, when you need it at any size that you need, in the quantity that you need.
- Think about using variable data. Since DTF is a completely digital product, you can use variable data printing to create individualized transfers in a single run. Find out if your DTF service provider offers variable data options. This is an ideal solution for adding individual names or numbers.
- Embrace the use of photography. With the full-color printing capability of DTF, you can print any kind of image, even photographs. This is a great way to create custom, personalized layouts for clients. Since photographs are raster images, you need to make sure they are at the proper resolution to get the best quality print. Low-resolution images are usually 72 DPI and are used for things like web design. When creating raster images for DTF, use a higher resolution. “We recommend 300 DPI, with the artwork set at actual size,” says Clement. “Keep in mind if you plan to use the image for multiple locations at varying sizes, create the initial layout at the largest size. You can then reduce it for smaller applications. The higher the resolution, the clearer and sharper the image.”
All in all, there are many variables that impact the success of a well-produced DTF transfer, including managing your RIP software, color management, controlling the printing climate, ink, adhesive and film compatibility, and much more. Creating suitable, printable artwork is just the tip of the iceberg, but these tips showcase the extreme flexibility in artwork design that is possible only with DTF transfers.
BY: BRETT STAHL
Credit: Stahls.com
Nice little article on wrap design for those that are interested!
https://99designs.com/blog/design-tutorials/vehicle-wrap-design-tips/
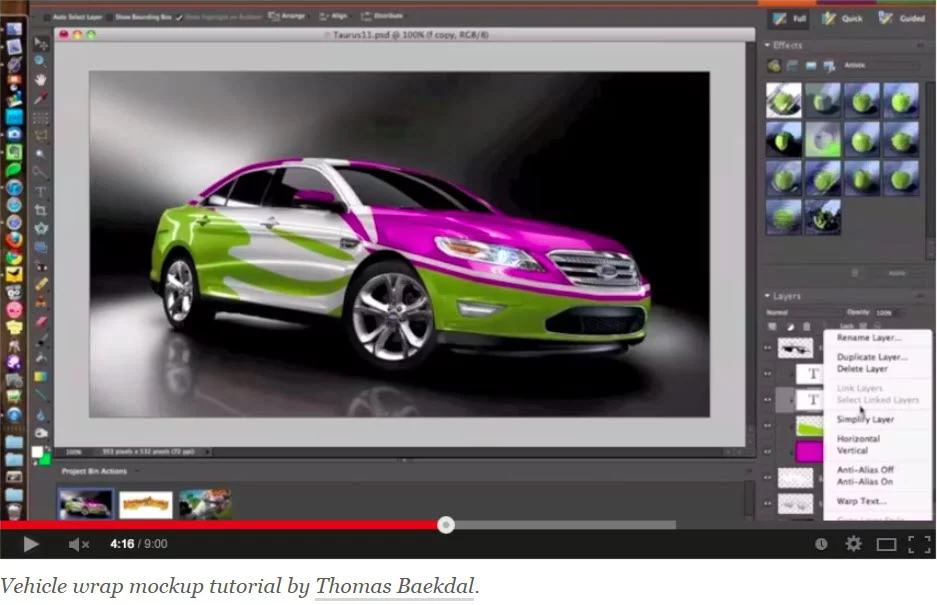
Here's a great article that may assist some of you. Virtual Memory is often overlooked and could actually keep your programs running faster and smoother: https://computer.howstuffworks.com/virtual-memory.htm
Watch this video to find out more. Get the REAL details in the Flexi VIP Community. the pdf file is in the documents section.
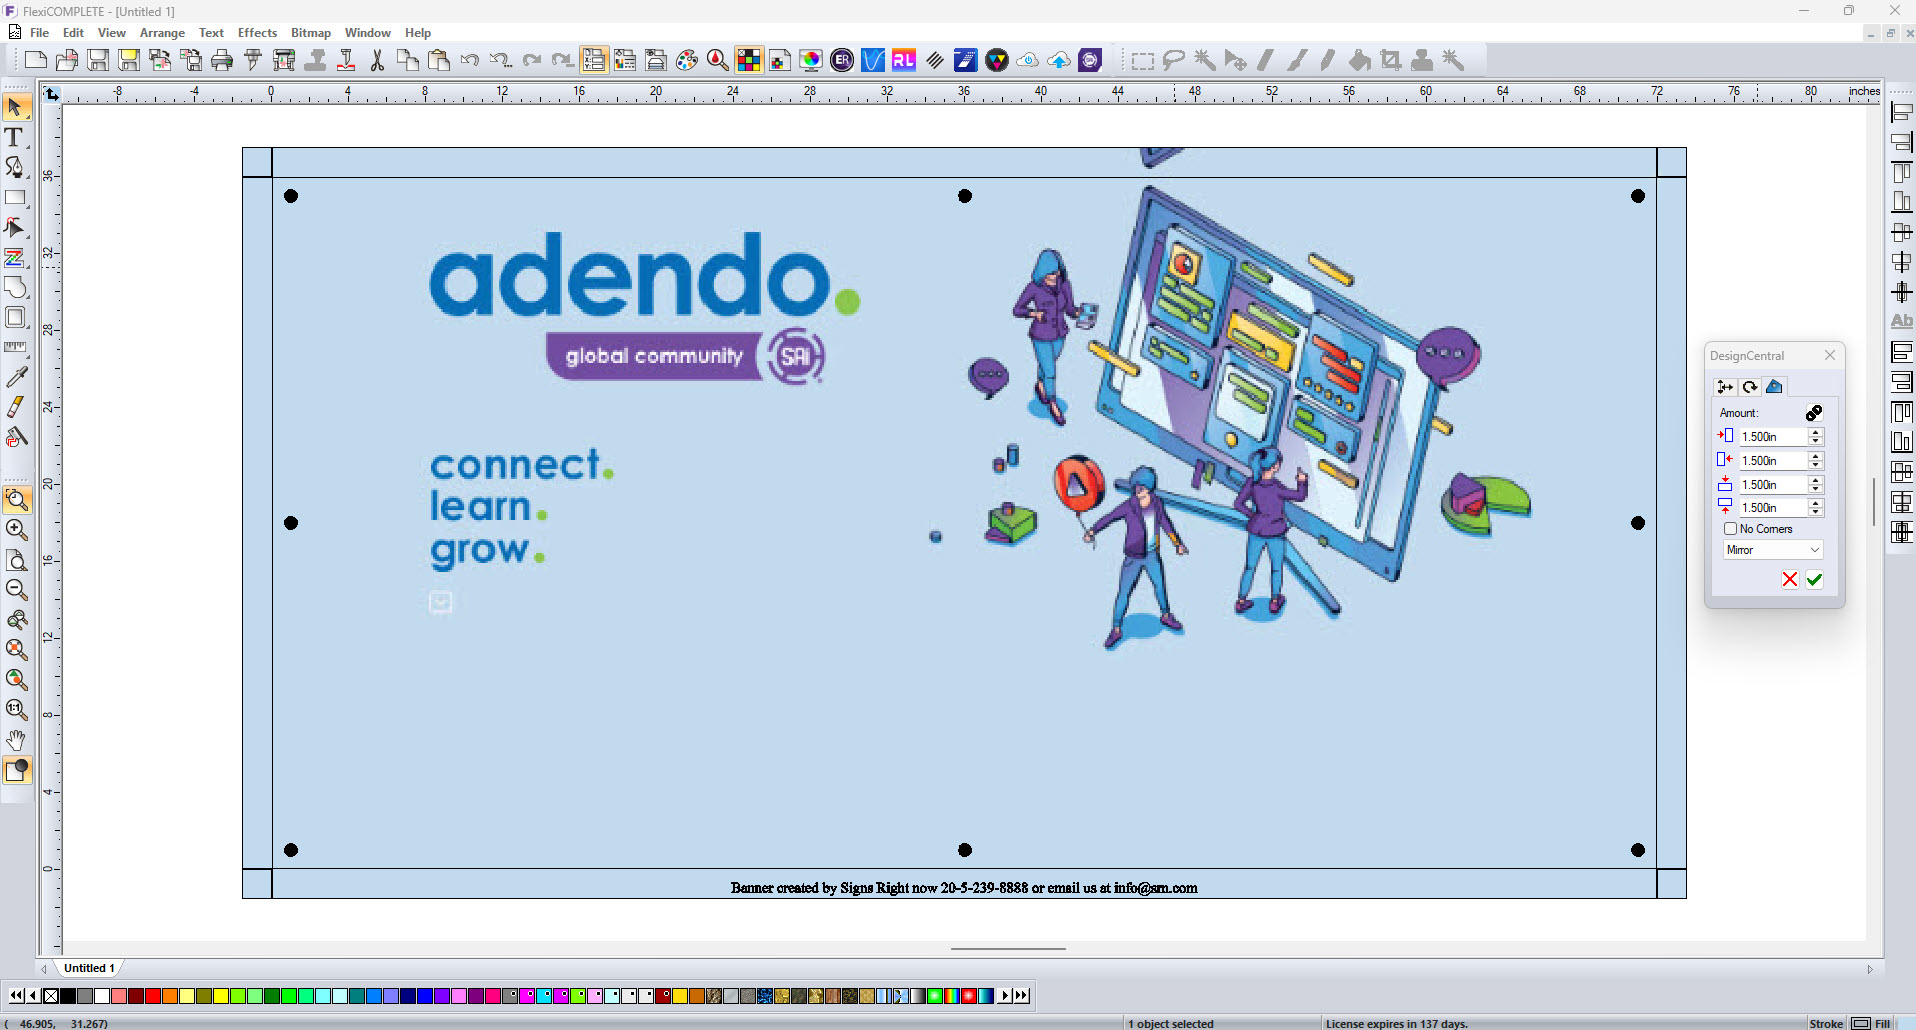
Learn how to create and print professional sign banners using Flexi Complete and Production Manager in this exclusive 1-hour webinar. Our experts will guide you through designing a banner in Flexi Complete and exploring printing options to ensure top-quality results.
We will discuss how to handle low resolution images, the options for adding grommet locations, fold lines and bleed for a better finish as well as adding your shop info so your customer knows how to order more banners or other signs!
We will also show how and when to choose using these design options in Production Manager rather than FlexiDESIGN. We will also show you how to price the banner and how to determine your costs.
Even if you cannot attend this LIVE webinar, it will be recorded and everyone who registers will receive a link to watch shortly after the webinar.
Who Should Attend?
✅ Users of any version of Flexi
✅ Anyone with a wide-format printer
✅ Sign makers and print professionals looking to optimize their workflow
Webinar Details:
📅 Date: March 26, 2025
⏰ Time:1:00 PM CST
📍 Location: Online (link provided upon registration)
$ Cost: $19/person or $14/person if you register by March 1, 2025
Why Attend?
✔ Step-by-step banner design in Flexi Complete
✔ Optimizing print settings in Production Manager
✔ Best practices for achieving high-quality prints
✔ Live Q&A session with our experts
Don’t miss this opportunity to sharpen your skills and elevate your sign-making process!
Register Now - You MUST register here to attend and receive the recorded webinar!
Flexi Community members - Look for your free link in the community.
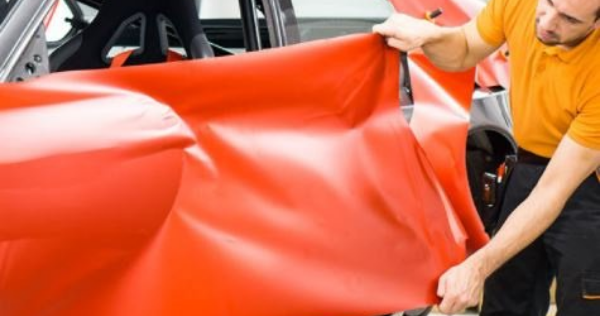
We here at adendo are all too aware of the many myths floating around concerning vehicle wraps in the sign industry. Often, such myths can (and do!) act as a huge barrier for small business owners to invest on such a vital way to get them and their small business’s name out there.
However, on the flipside of these myths – in a place we here at adendo like to refer to as reality – there are many benefits to be gained from using effective and high-quality vehicle wraps – one of the most cost-effective forms of advertising!
In order to reveal to you this reality, we here at adendo have cooked up a list of some of the most common myths associated with vehicle wraps – and we will endeavor to debunk them for you! Once you, as a small business owner, realize just how many of these myths are bunk – you’ll be well on your way to gaining the many lucrative advantages vehicle wraps can provide.
#1. Vehicle Wraps are Too Expensive
The first myth we here at adendo wish to tackle when it comes to vehicle wraps is the assumption vehicle wraps are just too damn expensive. But let’s take a deeper look, shall we? First of all, according to our various researches, the average vehicle wrap does indeed cost anywhere from $2,000 to $5,000 – which in truth, is nothing to laugh at! However, consider this: while yes, for a personal expense this would be quite a bit of money. But for a small business? It’s the cost of buying one employee’s computer. On the flipside, consider the advantages! While you are driving all around town in your vehicle wrap – potential clients are seeing your logo for the first time – are being exposed to a service they might be in desperate need of. Would you deprive yourself of such a relatively inexpensive way of growing your business? We thought not!
#2. Anyone can Install a Vehicle Wrap
Next – and this one is important for the small business owner who still might be thinking to themselves that that $2,000 to $5,000 range for installing a vehicle wrap would still be too much for them – is that, while yes, you do want to be saving money as a small business owner – but at the same time – when you make an expense – it’s important you invest into that expense! What we are trying to say is that – if you are going to make that 2k-5k investment as a business owner, you better not be installing the vehicle wrap yourself – unless you yourself have extensive knowledge and experience in vehicle wrap installation. We would advise you to cough up just that much more money in order to pay for the services of a professional. That way – one of the most prominent advertisements for your small business will sparkle just that much more – instead of being a 2k-5k disaster!
#3. Vinyl Wraps Damage Vehicles
Many small business owners worry – understandably – that vinyl wraps on vehicles would damage the paint jobs and/or finishes for those vehicles. This is simply not true. With the advent of steady, more stable forms of technology – and the correct application of such technologies – BY PROFFESIONALS – we most fervently advise – damage to vehicle paint jobs and/or finishes should simply not be a concern for you and your small business going forward.
#4. Vehicle Wraps Take Too Long/Don’t Last
As with many of the other myths we’re debunking on this list – it goes without saying that if you have your small buisness’s vehicle wrapped by a professional – the installation will, in fact, not take too long (the duration, these days, shouldn’t take longer than a mere 7-9 hours of labor).
As for the lifespan of your typical, professionally installed vehicle wrap? They can, in fact, last for quite a long time. Indeed, under the right conditions, the lifespan of a vehicle wrap can last up to five years.
#5. You Can’t Wrap Leased Vehicles
As for your small business’s leased vehicles, they can indeed be wrapped – as removing such vehicle wraps is not too difficult to accomplish once those leases are finally up.
#6. I can Design the Graphic Myself
This myth is possibly the most vital for us here at adendo to debunk. While we understand it might be very tempting to forge ahead and attempt to design your vehicle wrap’s graphic yourself – again, unless you have lots of knowledge and experience with this sort of work – we would strongly advise you against it!
As we will continue to reiterate, a vehicle wrap is one of the most visible forms of advertising you could invest in as a small business owner. So your graphic and graphic design should follow accordingly! Don’t just put up any old shoddy design you cooked up in ten minutes by yourself – seek out – and invest in – the work, knowledge, and experience of design experts. That way, your small business’s vehicle wrap will truly shine above the competition!
#7. My Business is Too Small (A Conclusion, of Sorts)
Finally, we here at adendo wished to end this list by debunking the myth that your business is simply too small to invest in vehicle wraps. As we’ve stated over and over again – a vehicle wrap is probably one of the cheapest and most effective forms of advertising your small business. Why would you want to give up such an avenue for growing your business – just because of a relatively small, upfront investment.
The real question is – how do you expect your business to grow any bigger when you are working so hard in your mind to keep it small?
Schedule a Session with an adendo Advisor Today!
Do you, by any chance, happen to be the owner of a small business in the print industry? Do you have further questions when it comes to small business vehicle wraps? Do you require answers/guidance to those questions?
Well, in that case, you need look no further! We here at adendo are able to provide you with amazing, in-depth resources such as tutorials, installation guides, and walkthroughs when it comes to small business vehicle wraps – along with walkthroughs for other leading design tools and software such as Flexi Software.
If you are indeed interested in such vital guidance within the sign industry – let us here at adendo serve as such a guide! All you have to do is schedule a 1-on-1 video conference with one of our renowned adendo advisors today – and you’ll begin receiving expert guidance on creating anything within Flexi Software in no time. We guarantee it will meet (and indeed exceed!) your wildest expectations!